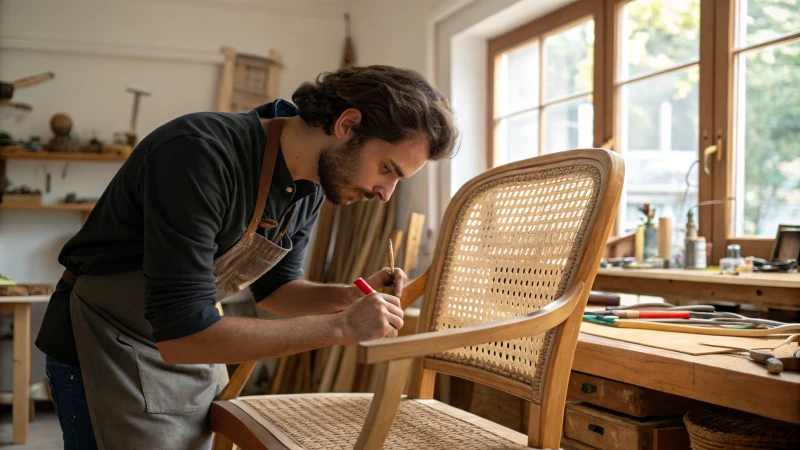
Are you prepared to start a DIY project with cane webbing? I recall my first attempt – it seemed scary but thrilling!
Pick a very high-quality adhesive made for natural fibers to glue cane webbing. Prepare your surface really well. Spread the glue evenly. This process gives the best hold. Follow these tips for a strong finish. The result will probably look stunning on your furniture projects.
This guide shares all I know about gluing cane webbing. It covers choosing the right adhesive and helpful tips for your project. I remember the joy of watching my chair come together wonderfully after much work. Restoring old furniture or building new pieces focuses on the details. Now, let’s begin this creative journey to brighten your furniture!
High-quality adhesive is essential for cane webbing.True
Using a high-quality adhesive ensures optimal bonding and durability when gluing cane webbing, preventing future damage or detachment.
Surface preparation is unnecessary for gluing cane webbing.False
Meticulous surface preparation is crucial for achieving a strong bond when gluing cane webbing, making this claim false.
What Types of Glue Work Best for Cane Webbing?
Ever found yourself in the middle of a DIY project, holding glue and not knowing what to use for delicate cane webbing? I have definitely experienced that. Let’s explore the best glue options to bring your furniture restoration ideas to life!
PVA glue is perfect for wood surfaces when selecting glue for cane webbing. Contact cement provides flexibility. Epoxy offers very strong repairs. Clear-drying adhesives should be chosen to keep a nice look in your projects.
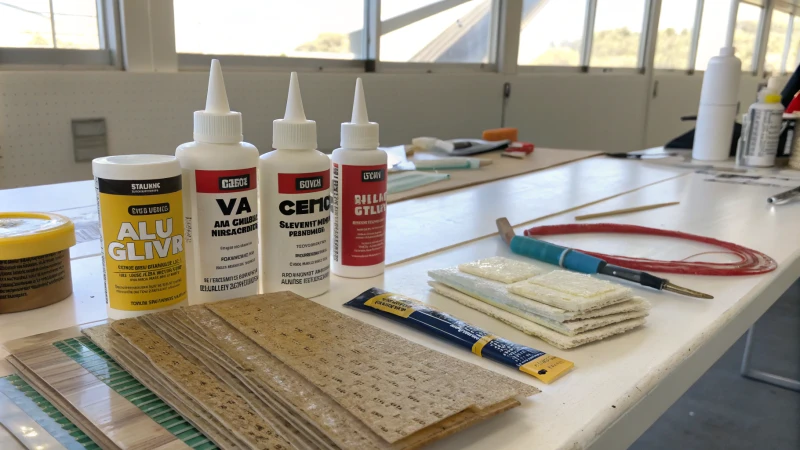
Understanding the Role of Glue for Cane Webbing
When I began using cane webbing, I quickly discovered that the correct glue is crucial. It’s like choosing the right dance partner; the match must be perfect. Cane webbing is often in elegant furniture and the right glue keeps it strong and looking nice. Messy glue marks spoil beauty.
Commonly used adhesives include:
| Type of Glue | Characteristics | Best For |
|---|---|---|
| PVA Glue | Water-based, non-toxic, easy to use | Wood surfaces |
| Contact Cement | Strong initial bond, flexible once cured | Bonding cane to various surfaces |
| Epoxy | High strength, gap-filling properties | Repairing damaged webbing |
| Silicone Adhesive | Flexible and waterproof | Attaching cane to glass |
| Hot Glue | Quick setting, easy to apply | Temporary holds |
Each type of glue has its specific advantages depending on the application method and the materials being bonded. For instance, PVA glue1 is favored for wood due to its non-toxic nature and ease of use.
Choosing the Right Glue
Selecting glue can feel challenging. Consider these few factors:
- Material Compatibility: The glue should stick well to the cane and surface. Mismatched materials look bad. Trust me.
- Drying Time: Depending on how fast I finish the project, I either choose fast-setting or slower-drying glue.
- Visibility: Clear-drying glue is necessary for a neat look. No one wants a glue mess.
- Flexibility: Webbing under stress, like on a rocking chair, needs flexible glue.
Recommendations for Specific Uses
Different projects need different adhesives:
- For wood-to-cane, PVA or wood glue works great.
- For cane to glass, I suggest using silicone adhesive.
- For tricky repairs, strong epoxy is my choice. It fills gaps well.
Tips for Glue Application
Proper application is half the success. Follow these tips:
- Prepare Surfaces: Clean and dry surfaces before gluing. I learned this the hard way!
- Even Spread: Use a brush or roller for even glue application, especially thick glue like epoxy.
- Clamping: Clamps hold pieces while curing and prevent errors.
- Clean Excess: Wipe away extra glue immediately. It’s definitely worth it.
In summary, picking glue for cane webbing isn’t just about sticking things together; it’s about understanding your project. Each glue type has a unique job, making your work look fantastic as you imagined.
PVA glue is ideal for wood-to-cane applications.True
PVA glue is favored for its strong bond with wood and non-toxic nature, making it perfect for cane webbing projects involving wood surfaces.
Hot glue provides a permanent bond for cane webbing.False
Hot glue is quick-setting and easy to apply but is not suitable for permanent bonds, making it better for temporary holds.
How Do I Prepare Surfaces Before Gluing?
Preparing surfaces for gluing is similar to building a strong base for a home. Proper preparation changes everything. That’s very important. It ensures the creation of something beautiful and durable.
I clean surfaces very thoroughly before gluing. This removes any dirt or unwanted material. I also roughen smooth areas. This helps with a better grip. Surfaces need to be completely dry before any gluing. I really check that they are dry. Final step is alignment. Surfaces must align properly before application.
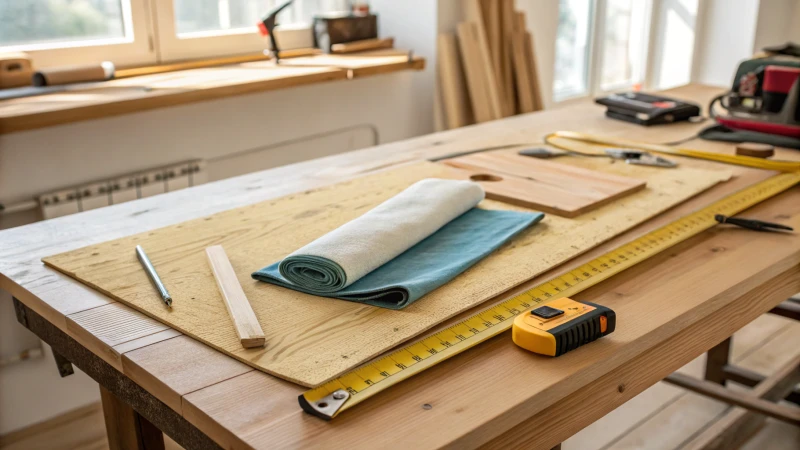
Understanding Surface Preparation
Before applying glue, it’s vital to understand that the quality of your bond depends largely on how well the surfaces are prepared. Proper preparation can significantly enhance the effectiveness of the adhesive and ensure a lasting hold.
Cleaning the Surface
The first step in preparing surfaces is cleaning. Dust, grease, or any contaminants can weaken the adhesive bond. Use appropriate cleaning agents depending on the material:
| Material | Recommended Cleaner |
|---|---|
| Wood | Mild soap solution or isopropyl alcohol |
| Acrylic | Rubbing alcohol |
| Metal | Acetone or a degreaser |
Effort in cleaning can prevent problems later. A little work saves headaches. Learn more about cleaning agents2 to ensure optimal adhesion.
Roughening the Surface
In many cases, especially with smooth surfaces, roughening can improve the bond. Sanding lightly or using a file can create a better grip for the glue. This technique is particularly effective for materials like wood and plastic. Consider using:
- Sandpaper: Fine grit improves grip without deep scratches.
- Wire brush: Ideal for metal surfaces and adds grip.
For more tips on surface treatment, check this guide3.
Drying Time
After cleaning and roughening, allow the surfaces to dry completely. Moisture can interfere with the adhesive process and weaken the bond. Depending on the cleaning agent used, drying times may vary:
| Cleaning Agent | Approx. Drying Time |
|---|---|
| Mild soap solution | 10-15 minutes |
| Isopropyl alcohol | 5-10 minutes |
| Acetone | 5 minutes |
Patience is important after cleaning and roughening. I learned from a project where I used glue too early; moisture really spoils bonds! I now always time my drying. To understand drying times better, explore this resource4.
Final Checks
Before applying glue, perform a final check to ensure surfaces are clean and dry. This step may seem trivial but can make all the difference in achieving a strong bond. Projects can last longer and work better if done correctly; consider holding pieces together to see if they align properly and check for any remaining debris.
By following these preparation steps, you can enhance your adhesive applications significantly and ensure that your projects are both aesthetically pleasing and durable. For detailed procedures specific to different materials, read our comprehensive guide5.
Cleaning surfaces enhances adhesive bond strength.True
Removing dust and contaminants ensures a stronger hold for adhesives, making cleaning essential before gluing.
Roughening smooth surfaces is unnecessary for adhesion.False
Smoothing surfaces can weaken the bond; roughening helps create a better grip for glue application.
What Common Mistakes Should You Avoid When Gluing Cane Webbing?
Sticking cane webbing might seem like a hard task. Every piece should fit nicely. I’ve experienced this myself. Avoiding usual mistakes really matters. Here are important things you should know.
To glue cane webbing successfully, avoid common mistakes. Choose the right adhesive. Prepare the surfaces properly. Apply the glue evenly. Do not rush the drying process. Take your time. Always care for the glued piece after it’s dry.
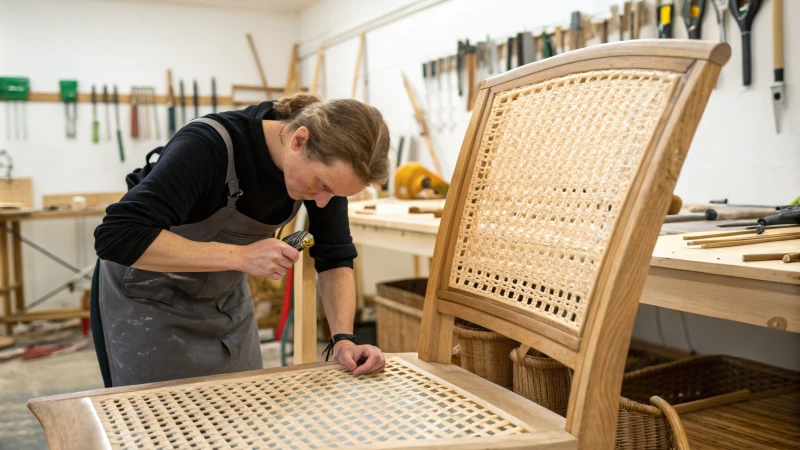
Understanding the Importance of Proper Adhesive Selection
Choosing the right adhesive is crucial when gluing cane webbing. Different adhesives have varied properties that affect adhesion strength, drying time, and flexibility. For instance, using a water-based glue can be effective for temporary bonds, while a polyurethane adhesive may offer a stronger, permanent bond.
When selecting an adhesive, consider the specific application:
- Water-Based Adhesives: Great for indoor use and easy cleanup. However, moisture weakens them.
- Polyurethane Adhesives: Provides strong bonds for projects exposed to weather.
- Contact Cement: Ideal for large surface areas but requires precise application as it sets quickly.
Explore more about adhesive types and their applications in our detailed guide different adhesives6.
Surface Preparation: A Crucial Step
Surface preparation could transform your work. One of the common mistakes is neglecting the surface preparation of both the cane webbing and the furniture piece. Clean, dry surfaces ensure better adhesion.
Steps for Effective Surface Preparation:
| Step | Description |
|---|---|
| Clean the Surface | Remove dust and grease with a cloth. |
| Sand if Necessary | Lightly sand wooden surfaces for better grip. |
| Ensure Dryness | Make sure all surfaces are completely dry before applying glue. |
This preparation phase can significantly impact the durability of your glued cane webbing. For further tips on surface preparation, check out surface cleaning techniques7.
Application Techniques to Avoid Uneven Attachment
I learned how important application technique is. Another frequent issue arises from improper application techniques. To ensure even attachment of the cane webbing, follow these guidelines:
- Even Glue Application: Use a brush or roller to apply glue evenly across the surface.
- Pressure Application: Apply consistent pressure across the webbing to avoid air bubbles and gaps.
- Check Alignment: Take your time and align everything correctly before the glue sets.
Consider learning more about effective application techniques in our post on applying cane webbing8.
Timing: The Importance of Patience
Waiting is necessary, especially for glue drying times. Rushing this step probably leads to weak bonds and misalignments. It’s essential to allow adequate drying time according to the manufacturer’s instructions, which can vary significantly between different adhesives.
General Drying Times:
| Adhesive Type | Typical Drying Time |
|---|---|
| Water-Based | 30 minutes to 1 hour |
| Polyurethane | 1 to 3 hours |
| Contact Cement | Immediate set but needs 24 hours for full cure |
Patience during this phase pays off by ensuring a robust and lasting bond. For more insights on drying times, visit adhesive drying times9.
Final Touches: Post-Gluing Care
Avoid touching or moving the cane webbing until it cures completely. Furthermore, apply any protective finishes only after ensuring that the glue has completely dried to prevent issues with adhesion or aesthetics.
Understanding these common mistakes will help you achieve long-lasting, professional results in your cane webbing projects.
Water-based glue is best for permanent cane webbing bonds.False
Water-based glue is suitable for temporary bonds, not permanent. Polyurethane is better for strong, lasting adhesion.
Surface preparation enhances adhesive strength for cane webbing.True
Properly cleaning and preparing surfaces significantly improves the adhesion and durability of glued cane webbing.
How Can You Ensure a Long-lasting Bond with Cane Webbing?
Cane webbing gives a stylish look to any furniture. It really needs care to last long. I will explain how my cane pieces stay beautiful for many years!
Regularly clean cane webbing to keep it strong. Protective oils like linseed or tung oil help maintain it. Repair any damages without delay. Watch out for sunlight and humidity, which could affect it. Use top-quality materials for more durability and good looks. Sustainable sourcing matters. It’s very important.
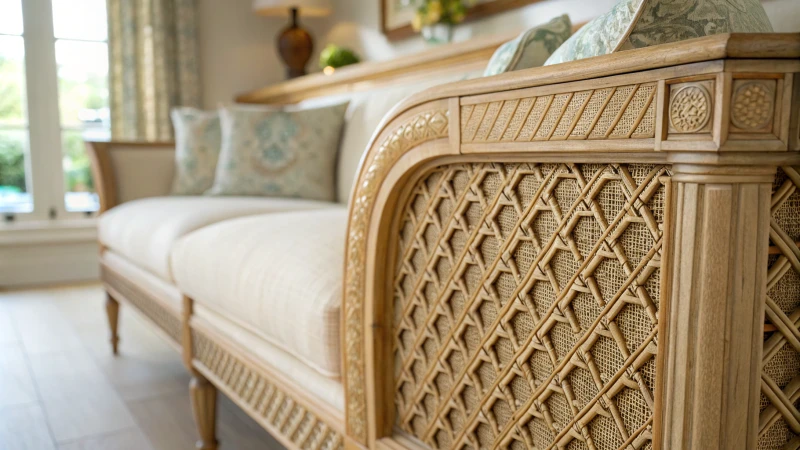
Understanding Cane Webbing
I remember seeing a beautifully woven cane chair for the first time. It looked like art! Cane webbing comes from the rattan plant’s skin, woven into detailed patterns. These patterns are not only beautiful but also very strong. However, without proper care, these pieces might show their age quickly.
Cleaning Techniques
Cleaning cane furniture can be very rewarding. Dust and dirt often find their way into the lovely weaves, making them look dull. Here’s a routine I follow to keep them fresh:
| Step | Action | Frequency |
|---|---|---|
| 1 | Dust with a soft cloth | Weekly |
| 2 | Wipe with damp cloth | Monthly |
| 3 | Use a mild detergent | Every 3 months |
| 4 | Avoid soaking | N/A |
Applying Protective Oils
One day, my favorite chair felt a bit brittle. That’s when I discovered the wonder of oils! Oils keep the cane flexible and beautiful. They really do wonders. Here are the oils I love using:
- Linseed Oil: Adds richness in color and provides moisture.
- Tung Oil: Creates a barrier to protect from water damage.
- Mineral Oil: A light option that stops drying.
It’s advisable to apply oil every few months, especially when sunlight shines into the living room just right. Learn more about oil applications10.
Repairing Damages
In case of fraying or breaking, prompt repairs are essential to avoid further damage. Here’s a quick repair guide:
- For minor frays, use clear adhesive to secure loose strands.
- For significant damage, consider reweaving sections or consulting a professional.
Keeping a repair kit handy can help you address issues before they escalate. Check out our repair guide11.
Environmental Factors
Sunlight, moisture, and heat can significantly impact the longevity of cane webbing. To mitigate these effects:
- Avoid direct sunlight: Use curtains or shades to protect furniture.
- Control humidity: Keep cane items in well-ventilated areas to prevent mold.
- Maintain temperature: Avoid placing near heat sources like radiators or fireplaces.
By understanding these environmental factors, you can create an ideal setting for your cane webbing furniture. Explore environmental impact12.
Choosing Quality Materials
Lastly, when sourcing cane webbing, ensure that you select high-quality materials that meet sustainability standards. Look for certifications such as FSC (Forest Stewardship Council) to ensure ethical sourcing. Suppliers who offer diverse patterns and finishes can enhance the aesthetic appeal while maintaining quality. Find certified suppliers13.
Cane webbing requires regular cleaning for longevity.True
Regular cleaning prevents dirt buildup, which can weaken cane webbing and affect its appearance. Dusting weekly and damp wiping monthly is essential.
Applying oils to cane webbing is unnecessary for maintenance.False
Applying protective oils like linseed or tung oil is crucial to maintain flexibility and prevent brittleness, enhancing the lifespan of cane webbing.
Conclusion
Learn how to effectively glue cane webbing with tips on adhesive selection, surface preparation, application techniques, and maintenance for durable and beautiful furniture.
-
Discover detailed insights into selecting the right adhesive for cane webbing applications. This guide will enhance your project outcomes with expert recommendations. ↩
-
This link will provide you with in-depth information about various cleaning agents for different materials, enhancing your preparation process. ↩
-
Explore this guide for expert tips on how to treat surfaces effectively, ensuring optimal adhesive performance. ↩
-
This resource outlines drying times for various cleaning agents, helping you avoid mistakes in your gluing projects. ↩
-
Read our comprehensive guide to learn about preparation steps tailored to different materials for effective adhesion. ↩
-
Discover practical tips to avoid common pitfalls when gluing cane webbing, ensuring your project succeeds without setbacks. ↩
-
Learn how surface preparation impacts adhesion quality and get tips for preparing your surfaces effectively. ↩
-
Find out effective application techniques to ensure even attachment of your cane webbing and avoid air bubbles. ↩
-
Understand drying times for different adhesives to ensure a strong bond and avoid rework on your projects. ↩
-
This link provides in-depth maintenance techniques that can help enhance the durability of your cane webbing. ↩
-
Discover how to effectively repair cane webbing furniture to extend its lifespan. ↩
-
Understand the environmental impacts on cane webbing and learn how to protect it. ↩
-
Get insights into sourcing high-quality cane webbing from sustainable suppliers. ↩

