 Skip to content
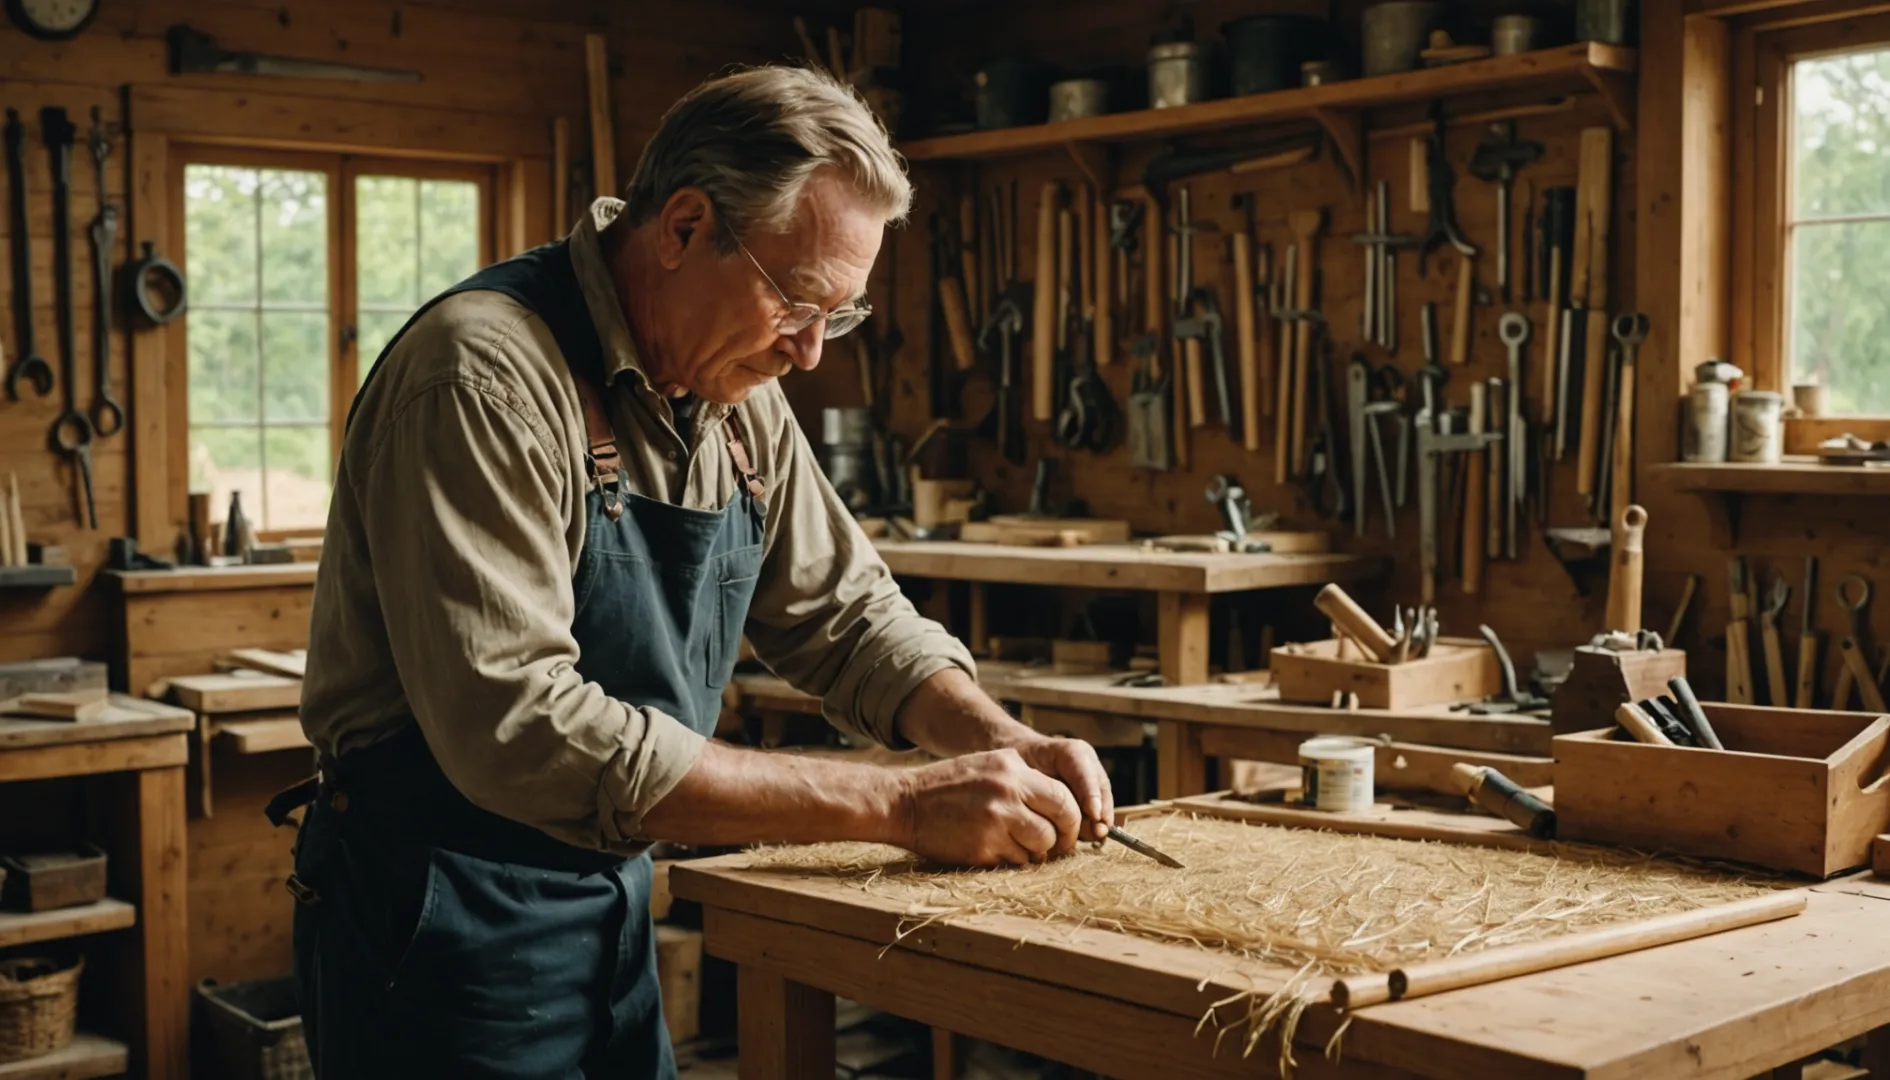
Ever tried adding cane webbing to wood? It’s like weaving history into your furniture, but getting that professional look can be tricky.
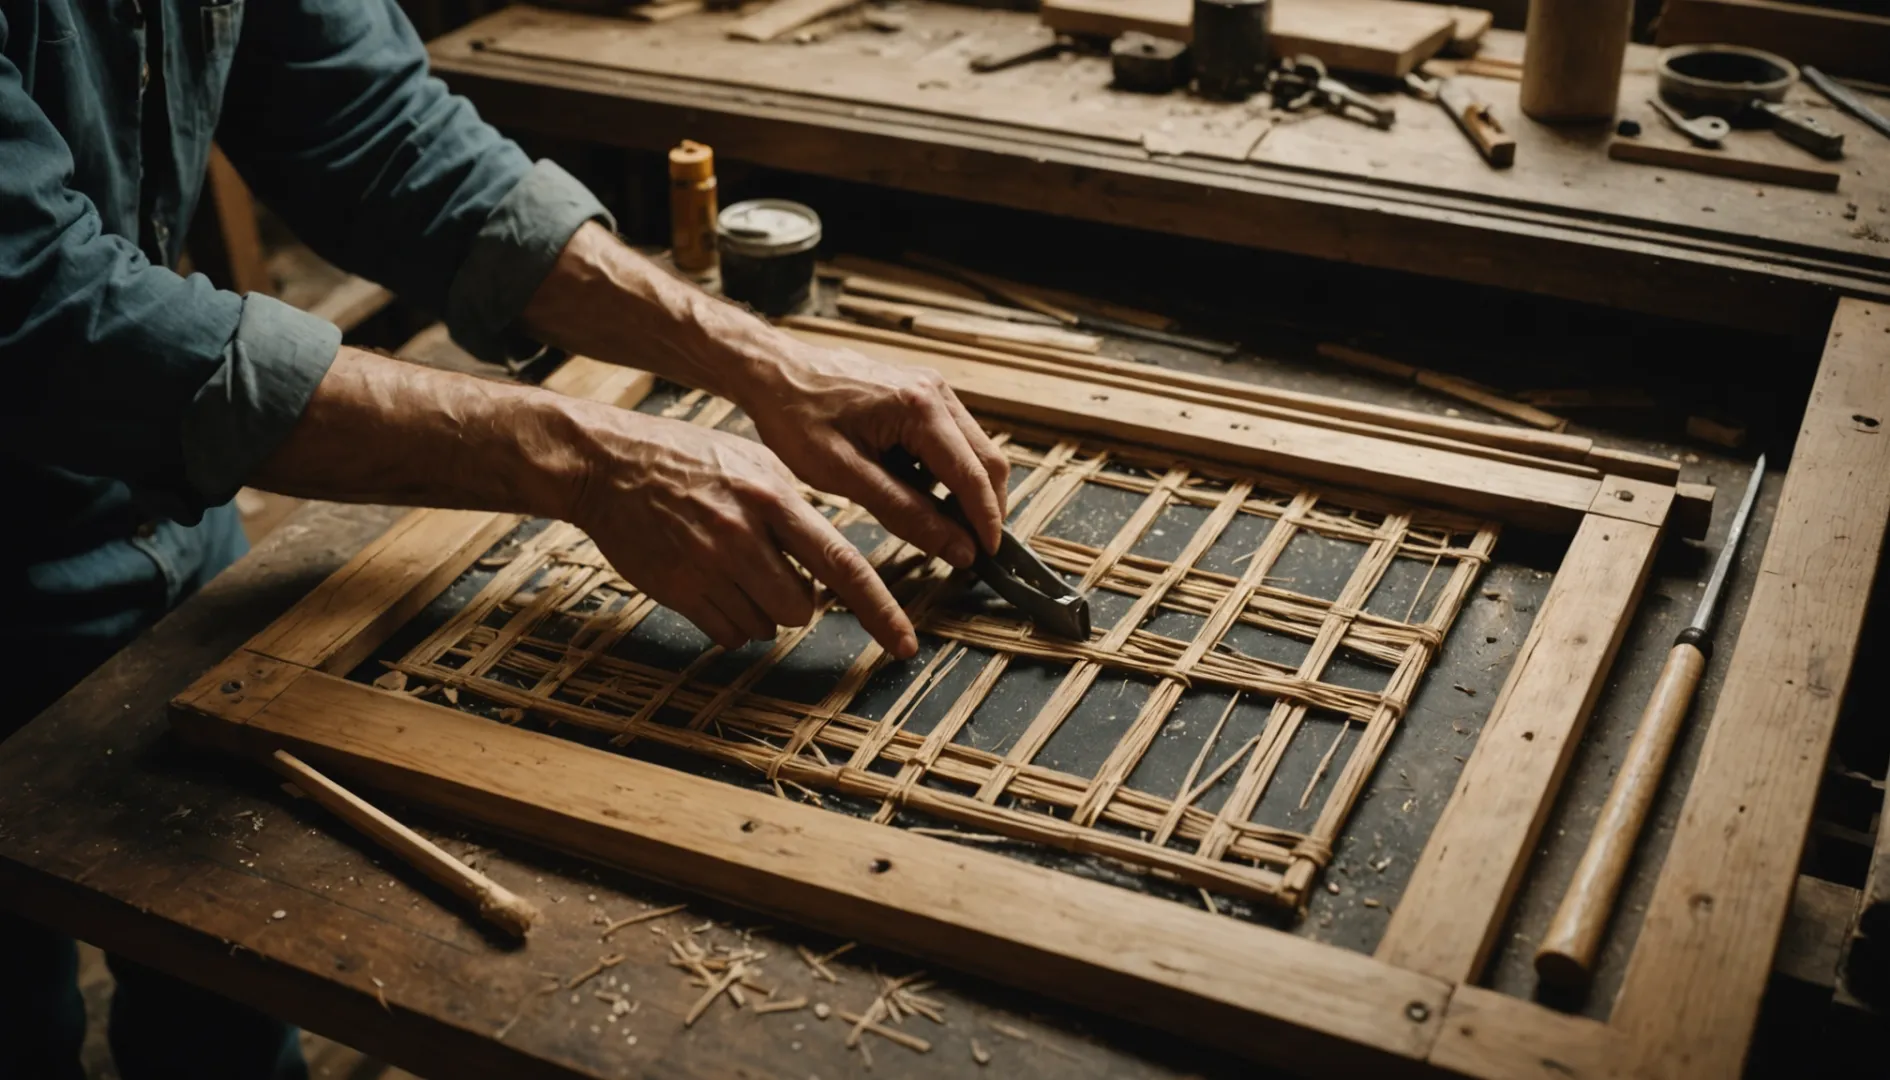
To attach cane webbing to wood effectively, soak the cane, prep the wood, center the webbing, secure it with a spline, and trim excess. This classic method promises a snug fit and lasting finish.
I remember my first attempt was more of a comedy than a craft. I soaked the cane too long, turning it into a soggy mess. But through trial and error, I learned that soaking for about 30 minutes is perfect. It’s all about finding that sweet spot where the cane is flexible but not too soft. Once you’ve mastered this, prepping the wood becomes a breeze. A clean surface is key—like a blank canvas ready for art. Centering the cane might seem daunting at first, but take it slow; the overlap ensures you have room for adjustments. When it comes to securing with the spline, patience and precision pay off. After some practice, you’ll find yourself trimming excess cane with the finesse of a seasoned pro.
Soaking cane webbing makes it more pliable.True
Soaking in warm water for 30 minutes allows the cane to stretch.
You should trim the cane before inserting the spline.False
Excess cane is trimmed after the glue dries, not before.
How Do You Choose the Right Cane Webbing for Your Project?
Remember that time you were knee-deep in a DIY project, and choosing the right materials felt like a maze? I’ve been there! Picking the perfect cane webbing can feel just as overwhelming.
Choosing the right cane webbing means understanding your project’s needs, like durability, style, and size. Think about the thickness, pattern, and how it matches your aesthetic. Decide between machine-woven or hand-woven webbing and ensure it fits your frame perfectly.
Understanding Cane Webbing Types
When I first started dabbling in furniture restoration, I was clueless about cane webbing. Did you know there are two main types? Machine-woven cane comes in pre-made sheets, perfect if you’re like me and want a straightforward approach for uniform designs1. Then there’s hand-woven cane, which lets you get creative with intricate patterns but requires a bit more finesse.
Consider Durability
I’ve learned that the kind of furniture piece I’m working on dictates the cane’s durability. For something that’ll see a lot of action, like a dining chair, I go for thicker cane to withstand all that wear and tear. But when I made a delicate headboard for the guest room, I opted for finer cane that brought an air of elegance without needing to bear much weight.
Pattern and Style Selection
Oh, the patterns! When I was redoing an antique armchair, I leaned toward traditional hexagon designs to keep that authentic feel. But when sprucing up a modern coffee table, I experimented with innovative patterns to add some flair. Whatever you choose, make sure it complements your project’s style, whether it’s vintage or contemporary.
Measuring for Success
I’ve been down the road of "Oops, it’s too short!" too many times. Now, I always double-check my frame’s dimensions before ordering. It’s vital to measure precisely and leave room for overlap. Trust me; having extra cane at hand is a lifesaver when you need to make those last-minute adjustments.
Spline Compatibility
During a restoration project, I almost overlooked the importance of spline compatibility. Ensure the spline size matches your frame’s groove; otherwise, you’ll end up with loose fittings. If you’re restoring something precious, like I did with Grandma’s rocker, try using original materials2 to keep its charm intact.
Budget Considerations
Setting a budget upfront is something I’ve learned to do the hard way. Cane quality and pattern intricacy can vary in cost. Higher-quality cane might pinch your wallet initially but saves money in the long run with fewer replacements. It’s all about balancing immediate costs against future benefits.
Cane webbing must be soaked for 30 minutes before use.True
Soaking makes the cane pliable, allowing it to stretch and conform.
A utility knife is used to insert the spline into the groove.False
A hammer is used to gently tap the spline into place over the cane.
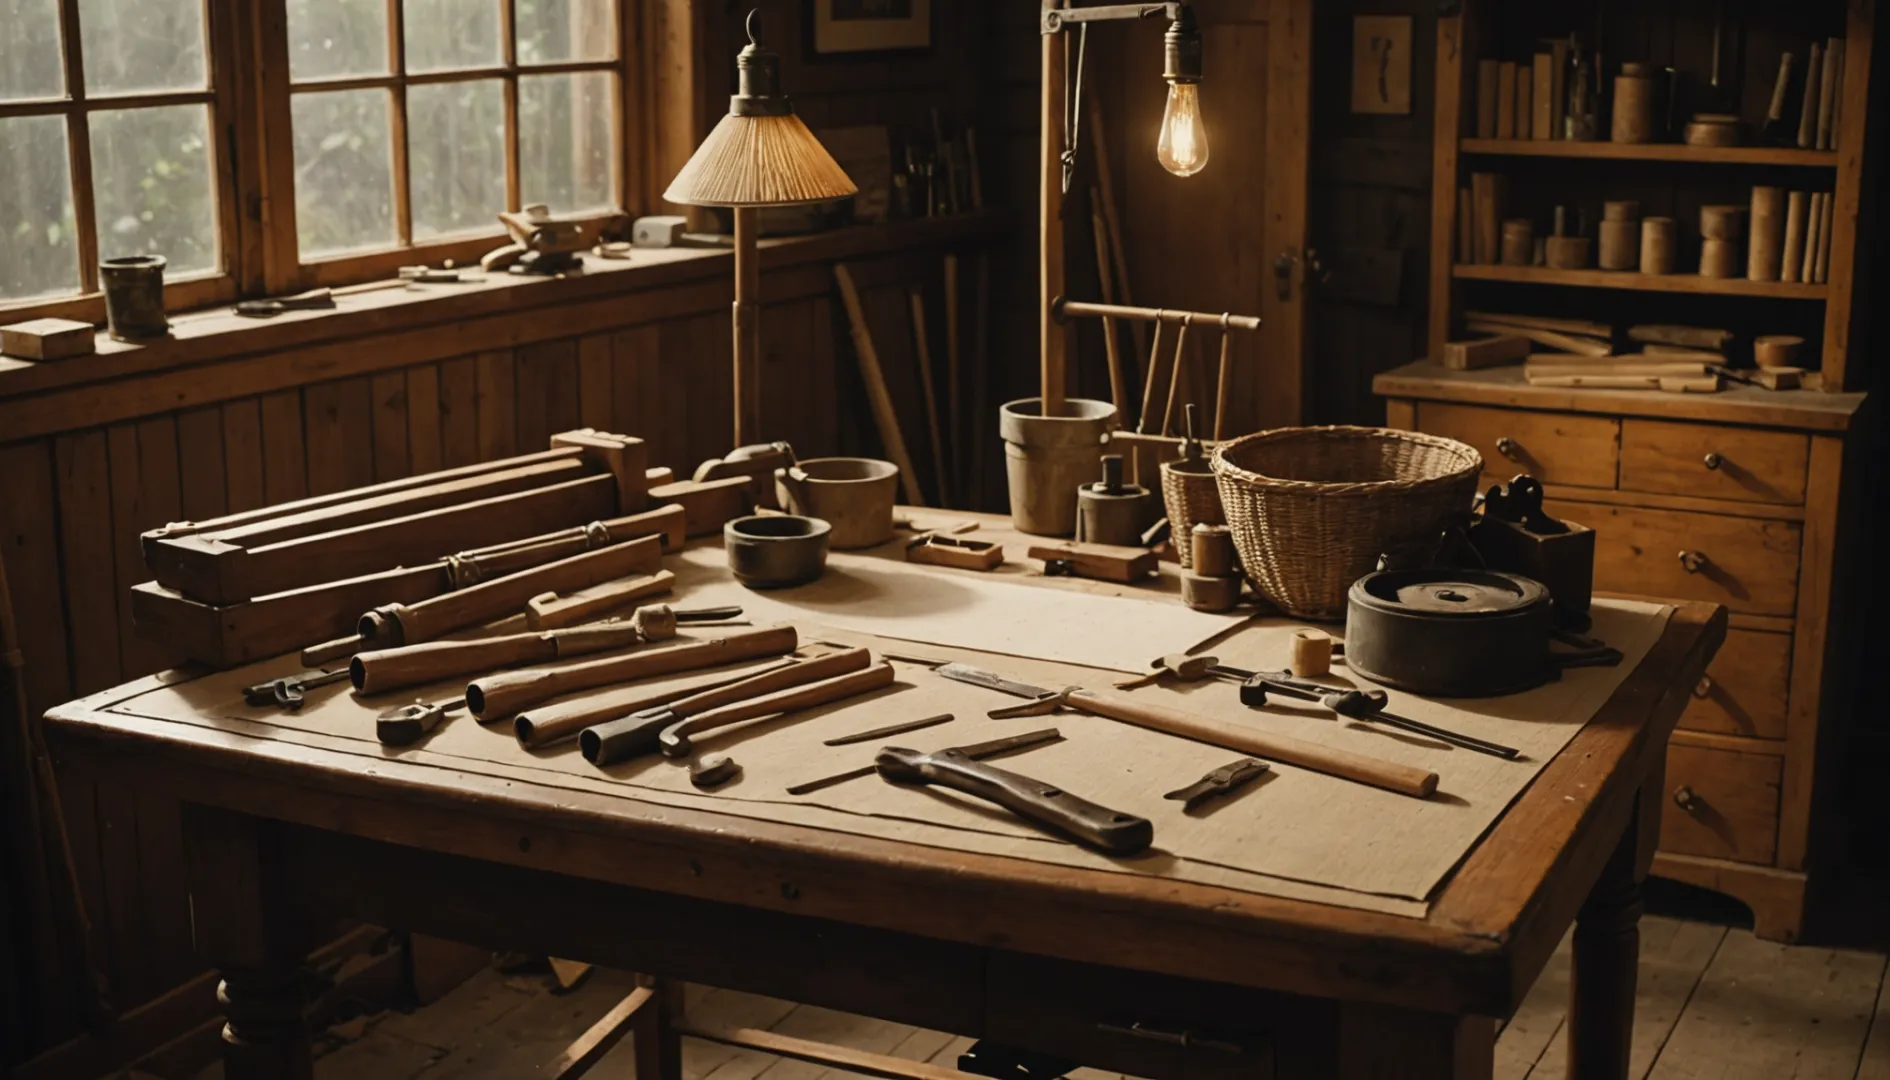
What Tools and Materials Are Essential for Attaching Cane Webbing?
Ever stared at a piece of furniture and thought, "I could totally give that a makeover"? Let’s dive into the world of cane webbing!
To attach cane webbing, you’ll need some essentials: cane webbing, a wood frame, spline, wood glue, a utility knife, a screwdriver or awl, a hammer, and a sponge with water. These tools and materials are key to ensuring your project not only looks professional but lasts for years to come.
Understanding Cane Webbing and Its Role
I remember the first time I encountered cane webbing—it was in my grandmother’s old rocking chair. That intricate, open weave not only looked charming but was surprisingly durable. Cane webbing has been around for ages, bringing both style and practicality to furniture. It allows airflow, which is perfect for seating and cabinet doors, making it a favorite in many homes.
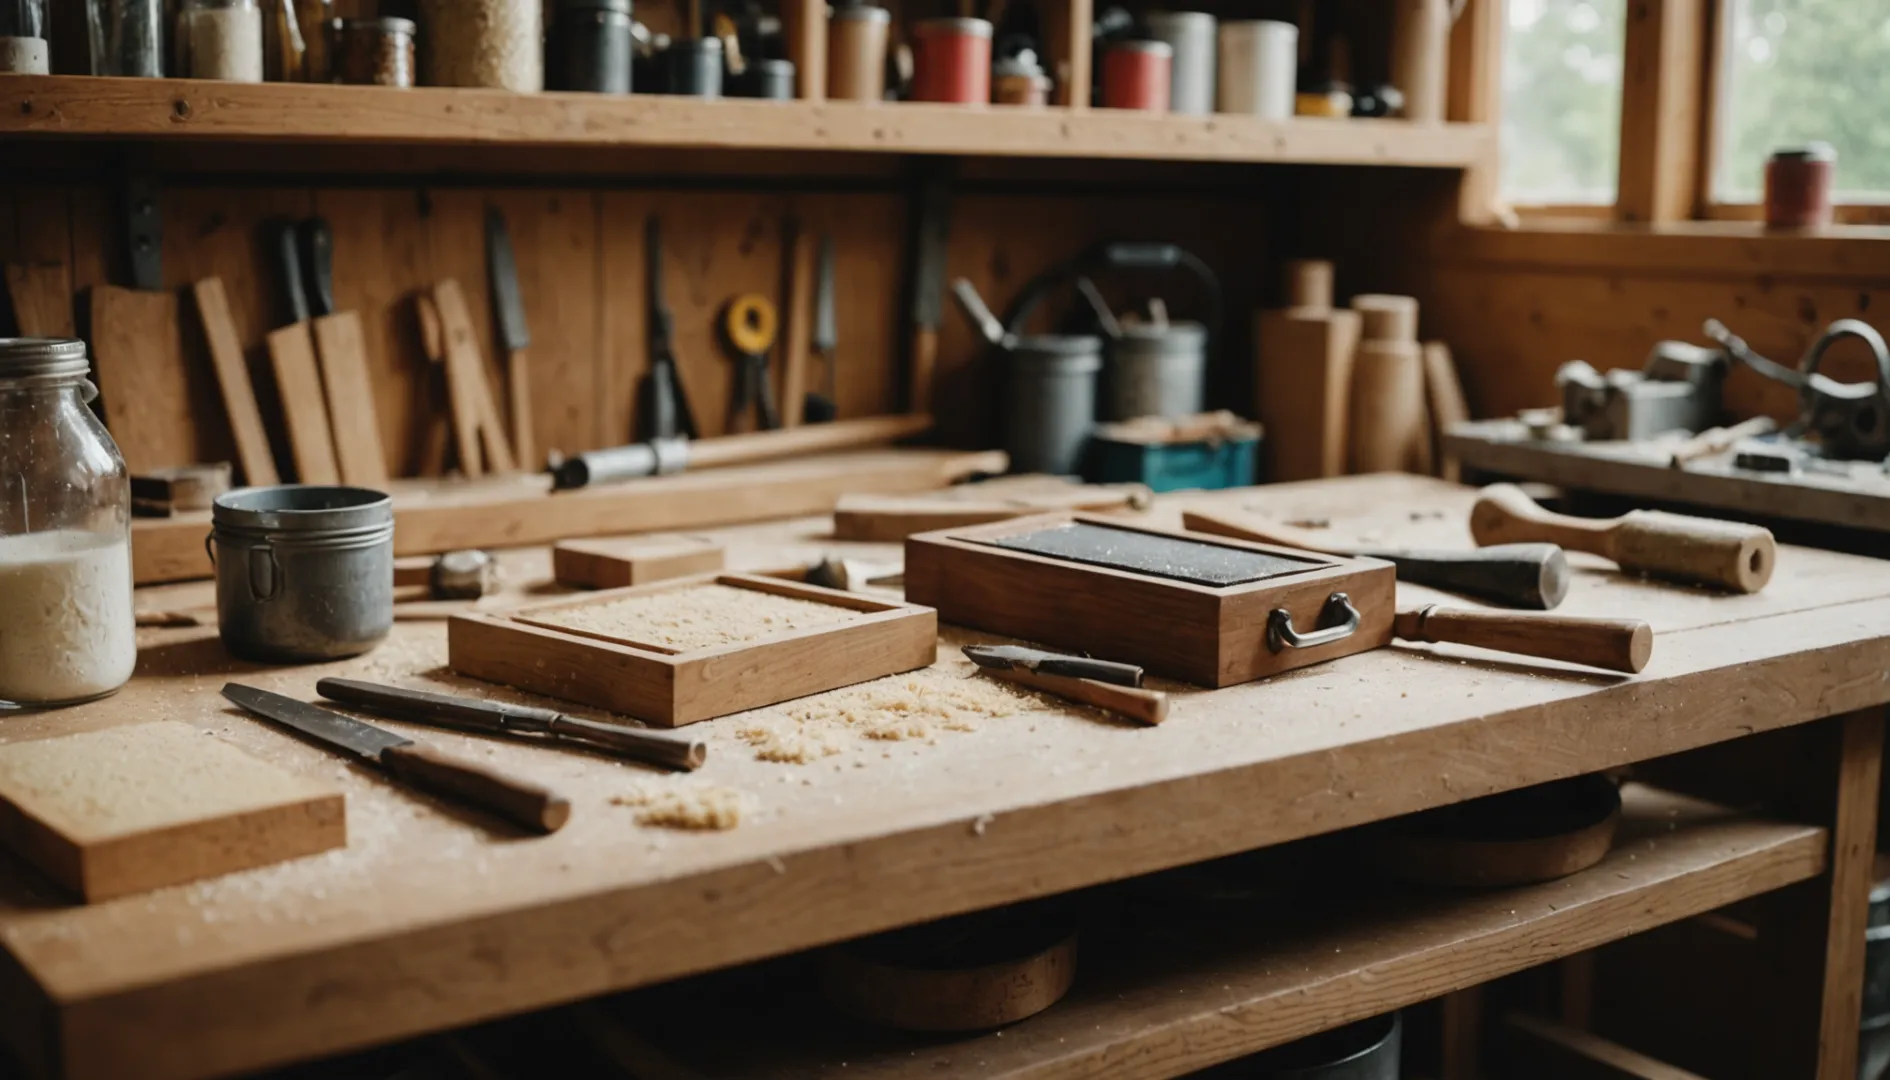
Essential Materials for the Job
-
Cane Webbing: The first time I picked up a pre-woven sheet, I was amazed at how uniform and simple it was to handle. For beginners like me, these sheets are a game-changer, offering a consistent pattern that’s easy to work with.
-
Spline: Think of spline as the unsung hero in your caning project. It’s what keeps everything in place. When I first learned about it, I realized it’s crucial that the spline matches the groove size for a snug fit.
-
Wood Frame: Have you ever spent hours sanding down an old frame, only to find it still wasn’t quite right? Ensuring the frame is clean and grooved correctly is essential, but sometimes creating that groove from scratch can be part of the adventure.
-
Wood Glue: A friend once told me, "You can’t have too strong of a bond." And they were right. The glue ensures everything holds together nicely.
Necessary Tools for Precision
- Utility Knife: This tool became my best friend when it came to trimming excess cane neatly.
- Screwdriver or Awl: Imagine carefully tucking the cane into those grooves—it’s like a gentle game of Tetris.
- Hammer: Light taps with this ensure the spline fits snugly without any damage.
- Sponge and Water: One lesson I learned early on was soaking the cane before use. It makes everything more pliable and easier to work with—absolutely crucial for a tight stretch.
Tips for Successful Cane Webbing Attachment
- Work Quickly: The first time I tried caning, I learned the hard way that once cane starts to dry, it becomes less pliable. Speed is your friend here.
- Tension Control: Achieving even tension can be tricky at first but using clamps really helped me avoid any unwanted warping3.
- Pattern Complexity: If you’re feeling adventurous like I did after my first few projects, using a caning needle can help create intricate designs that make your furniture stand out.
Understanding these essentials has been my guide toward transforming ordinary furniture into beautiful pieces that not only serve their purpose but also add charm to my space.
Cane webbing should be soaked for 30 minutes before use.True
Soaking makes the cane pliable, allowing it to stretch and conform.
A screwdriver is used to trim excess cane webbing.False
A utility knife, not a screwdriver, is used to trim excess cane.
What Are Some Creative Alternatives to Using Spline for Cane Webbing?
Ever found yourself tangled up in the traditional cane webbing method? There are easier, creative ways to get the job done!
Yes, there are several alternatives to using spline for securing cane webbing, including staples, wedges, and adhesive strips. These methods offer various benefits like ease of use and aesthetic flexibility, depending on your project goals.

Staple Method: Quick and Efficient
One summer afternoon, I found myself knee-deep in a DIY project to reupholster an old chair. The original plan was to use spline, but my tools had other ideas—they were nowhere to be found. That’s when I stumbled upon the staple method. After soaking the cane webbing, I stretched it over the frame and secured it with a staple gun. In no time, the job was done!
The beauty of this method is its simplicity and speed. Even if you’re pressed for time or lack fancy tools, staples can get you through. Sure, it might not scream ‘classic elegance,’ but it sure screams ‘done in an afternoon!’ The staples should be evenly spaced around the perimeter of the frame to ensure even tension and a neat finish.
Wedge System: A Traditional Twist
If you’re like me and love a challenge that pays homage to tradition, the wedge system might be your cup of tea. Once, while working on a vintage piece that demanded respect for its age-old charm, I opted for this technique. It involves crafting a slightly wider groove to accommodate small wooden wedges that secure the cane webbing.
Precision is key here, and while it might take a bit more time, it offers an incredibly secure fit without any glue or staples. Plus, the wooden wedges add a certain rustic flair that blends beautifully with traditional aesthetics4.
Adhesive Strips: Modern Solution
For those who like to keep things modern and tidy, adhesive strips offer a fantastic alternative. I remember experimenting with these when tackling a larger project; the ease of application was a lifesaver.
These strips hold the cane firmly in place and deliver a clean finish that’s hard to beat. Perfect for DIY enthusiasts5 who are up for trying new materials and methods.
Considering Different Materials
Sometimes thinking outside the box—or in this case, outside the spline—leads to innovative solutions. I once played around with thicker cane and pre-woven panels that snugly fit the frame’s groove on their own. This approach not only skipped the spline altogether but also sparked a sense of creative problem-solving.
By experimenting with different materials, we open ourselves up to endless possibilities, tailor-making our projects to fit personal project requirements6. It’s about embracing creativity and letting each piece tell its own story.
Cane webbing requires soaking before attaching to wood.True
Soaking makes the cane pliable, allowing it to conform to the frame.
Spline is unnecessary when securing cane webbing to wood.False
Spline holds the cane in place by fitting into the groove over the webbing.
How Can You Maintain the Durability of Cane Webbed Furniture?
I remember the first time I laid eyes on my cane webbed chair—it was love at first sight.
To keep your cane webbed furniture looking stunning and enduring, avoid direct sunlight, maintain optimal humidity, and clean gently with a damp cloth. Regularly apply furniture oil to prevent cracking and ensure flexibility. Handle with care and inspect for any damage to secure its longevity.
Protecting from Environmental Factors
Cane webbing is sensitive to environmental changes, particularly humidity and sunlight. I once made the rookie mistake of placing my beloved cane chair right by a sunny window. It didn’t take long for me to notice the fading and brittleness starting to creep in. That’s when I learned to keep it away from direct sunlight, maybe using sheer curtains if moving it wasn’t an option. If you live where the air feels like a warm hug (a.k.a. humid), think about a dehumidifier to balance things out—humidity can make the cane sag faster than you’d think.
Regular Cleaning and Maintenance
Regular cleaning is crucial in maintaining cane furniture’s aesthetic appeal7. My go-to cleaning ritual involves a soft cloth just lightly dampened with water. I remember the first time I scrubbed a bit too enthusiastically, leaving the cane looking weary and waterlogged. Lesson learned: gentle strokes to sweep away dust are all it takes. Every so often, a dab of mild detergent helps, but always dry thoroughly afterward.
Using Protective Oils
Applying oil regularly can preserve the cane’s flexibility and prevent it from becoming brittle. Every few months, I treat my furniture like I treat my skin: with moisturizing care. A touch of lemon oil or boiled linseed oil does wonders in keeping the cane supple. Just remember to let it soak in fully before wiping away any excess—it’s like a mini spa day for your furniture.
Handling and Usage Tips
Careful handling of cane webbed furniture prolongs its life. I’ve had friends plop down on my cane furniture as if it were made of steel. A gentle reminder usually does the trick—easy does it! Encouraging everyone to distribute their weight evenly not only saves the furniture but also makes for a more comfortable seat.
Periodic Inspection for Damage
Regularly inspect your furniture for any signs of wear or damage, such as loose strands or fraying edges. Checking for loose strands or frayed edges has become second nature to me. Spotting a loose strand early means a quick fix with some glue rather than a costly repair down the line.
By weaving these practices into my routine, my cane webbed pieces remain as charming and inviting as they were on day one, continuing to grace my home beautifully.
Soaking cane webbing makes it more pliable.True
Soaking in warm water helps cane stretch and conform to wood.
Wood glue is optional when inserting the spline.False
Wood glue secures the spline, ensuring the cane stays in place.
Conclusion
Learn effective methods for attaching cane webbing to wood, including soaking techniques, securing with spline, and tips for selecting materials to achieve a professional finish.
-
Understand differences in durability and style suitability. ↩
-
Learn about using original materials for authentic restorations. ↩
-
Learn techniques to ensure an even finish without warping issues. ↩
-
Explore traditional yet innovative methods for a unique aesthetic. ↩
-
Discover modern solutions for quick and clean installations. ↩
-
Learn about diverse materials that enhance DIY creativity. ↩
-
Learn the best cleaning methods for preserving cane’s visual appeal. ↩
